
The grid on the homepage is a really nice way to display all your artifacts. As you will notice, clicking on any of the image “buttons” will lead you to a post where you can provide the description and reflection of your artifact. This theme uses a portfolio post, which is really similar to normal posts, so follow the instructions for editing a post or portfolio, and check out some of the options below.
As noted on the home page, this site is using the free Ascend theme’s portfolio grid layout. Kadence themes provides great documentation for the free version of the Ascend theme, this theme has a ton of settings and allows you to customize more than any other free theme we have used! That being said if you want to get creative you will likely need to use the themes documentation at: http://docs.kadencethemes.com/ascend-free/. Don’t hesitate to check it out and see what you can do. This is the very documentation we used to figure out how to create this portfolio grid template!
Editing the Tagline
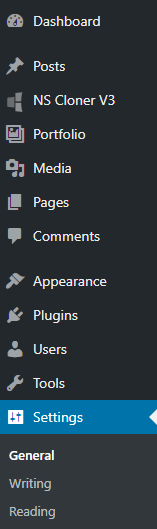
First you’re going to want to update the sites tagline. To do this go to the dashboard and click the Settings menu option, then if necessary click the General link underneath or hover your cursor over the Settings menu option and click the General link in the fly-out menu.
Next, update the Tagline field and click Save changes. If you do not want a tagline simply delete the place holder text and leave the field empty, don’t forget to click Save Changes.
Take note of the Site Title field above the Tagline field, this is where you can update the site’s title. This does not change the URL to the site, once a site is created you cannot change it’s URL.
While you are here take notice of the Writing link under General. This is where you can control whether or not emoticons convert to graphics, change the default post category and switch the default editor. If you switch the default editor we recommend you allow users to switch editors. If you choose to reuse one of the templates pages and want to keep it’s layout you will need to use the block editor rather than the classic editor.
Update the Banner Image
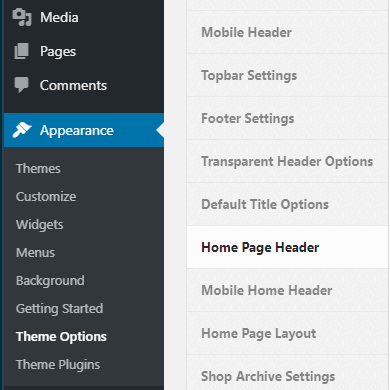
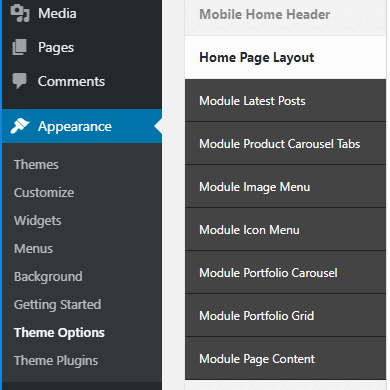
Click the Appearance menu option and then click the Theme Options link underneath or hover your cursor over the Appearance menu option and click the Theme Options link in the fly-out menu.
A menu listing all of the themes options will appear immediately to the right, click Home Page Header, here you have a lot of options. We recommend playing with them to see what effect they have on your ePortfolio. The most effective way is to make one change then click Save Changes and view the change to see if you want to keep it!
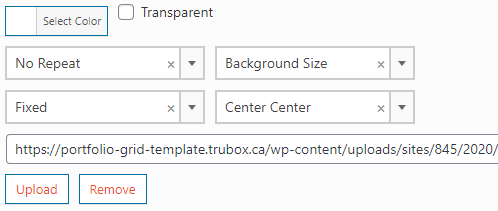
To update the header image scroll to the bottom of the page and click the Remove button then click the Upload button. You will be able to upload a new image or select an image that has been uploaded to the sites Media Library. Don’t forget to save your changes!
Editing the Footer text
Follow the instructions above except click Footer Settings instead of Home Page Header!
Editing the Home Page Text
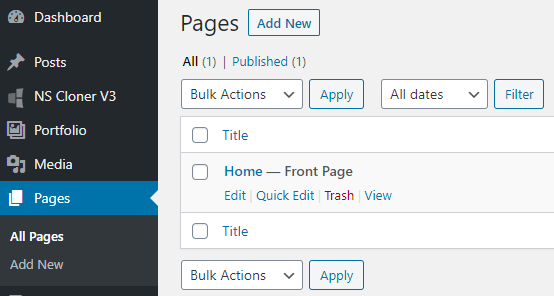
To update the text on the home page go to the dashboard and click the Pages menu option and then click the All Pages link underneath or hover your cursor over the Pages menu option and click the All pages link in the fly-out menu. Hover over Home – Front Page and click Edit.
Take the following steps if you do not want text above the portfolio grid:
Click the Appearance menu option and then click the Theme Options link underneath or hover your cursor over the Appearance menu option and click the Theme Options link in the fly-out menu.
Click Home Page Layout then uncheck the Page content checkbox and click Save changes. When you preview the site the text on the Home page will not be displayed.

Editing the Grid
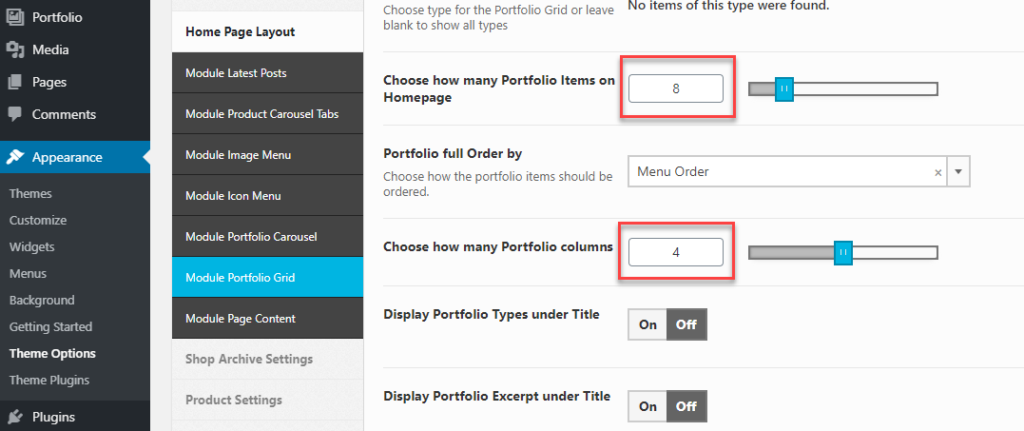
Next you may be wondering how to adjust the number of items you have in each row of your grid. Take note that it looks best when you have the same number of items in each row, so this template works best for an even amount of pages!
To adjust the grid click on Module Portfolio Grid in the drop down menu under Home Page Layout. Now adjust the Choose how many Portfolio Items on Homepage and Choose how many Portfolio columns fields. Don’t forget to save your changes.
Changing the Portfolio Post Grid Images
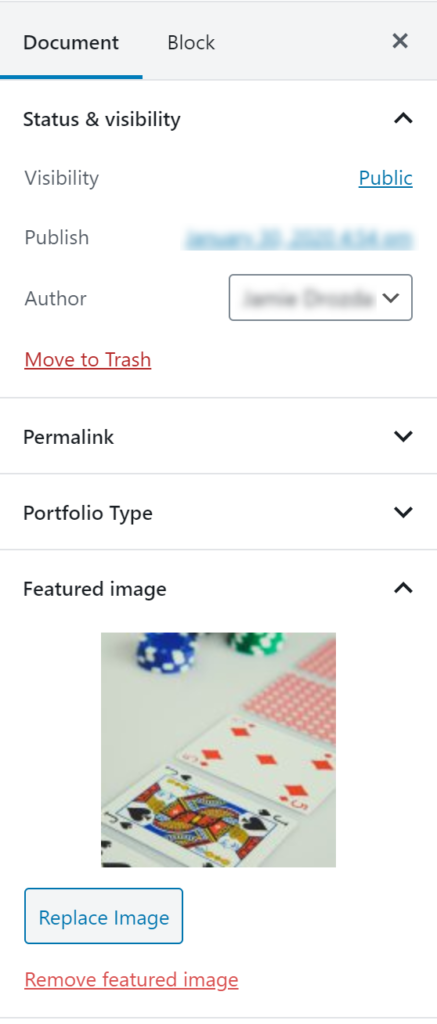
The images displaying in the grid on the home page are the featured images for each Portfolio post. To change the image for each block simply change the featured image for the corresponding Portfolio post. The following instructions outline how to replace the current image with a new one:
- Click the Portfolio menu option and then click the All Portfolio link underneath or hover your cursor over the Portfolio menu option and click the All Portfolio link in the fly-out menu.
- Click Edit for the Portfolio you want to replace the image
- Ensure Document is highlighted in the right hand menu
- Click Featured image to expand
- Click the Replace image button, you will be able to upload a new image or select an image that has been uploaded to the sites Media Library. (If this is a new Portfolio click Set featured image)
- Don’t forget to click Update to save your changes!
Portfolio Post Options
If you scroll down you will see all the Portfolio post options available to you at the end of this page. These options allow you to customize each Portfolio post you make. The one option we would like to call your attention to is Project Options. This allows you to remove the featured image banner that automatically appears at the top of this page, the image will still display on the home page. To remove the image from the top of the page select None from the Porfolio Options drop down list, don’t forget to click Update! You will notice there are several options in this drop down list, play with them and see what they do! For a comprehensive description of each setting go to: http://docs.kadencethemes.com/ascend-free/portfolio-posts/. You will notice that the website is using the classic editor, don’t worry the options will behave the same when you are out of edit mode and viewing the post!
Downside!
Ascend does not play nice with the Academic Blogger’s ToolKit plugin. You will notice when you hover over an inline citation your mouse cursor turns from an arrow to a hand, like something is supposed to happen. In the other templates a cool tooltip pops up that displays the references full citation. We don’t believe this should hold you back from using Ascend as tooltips are not required for proper reference formatting but we did think it was something to make note of!
Another issue Ascend has with the Academic Blogger’s ToolKit plugin is the font size of the automatically generated references list. Now this was a problem that needed to be fixed, for some reason the font is significantly smaller then it should be. We have fixed this issue for you and are making note of it here in case you lose the custom CSS and need to put it back. Below are instructions outlining how to repair the custom CSS:
- From your Dashboard, click the Appearance menu option and then click the Theme Options link underneath or hover your cursor over the Appearance menu option and click the Theme Options link in the fly-out menu.
- Scroll to the bottom of the page and select Custom CSS
- Enter the following code in the Custom CSS text box:
.abt-bibliography .abt-bibliography__body {
font-size: 16px;
} - Click the Save Changes button
We recommend you delete this text and add your own. If you want to keep a version of this, you can clone it and then save the duplicate as a draft.
Photo by Thought Catalog on Unsplash